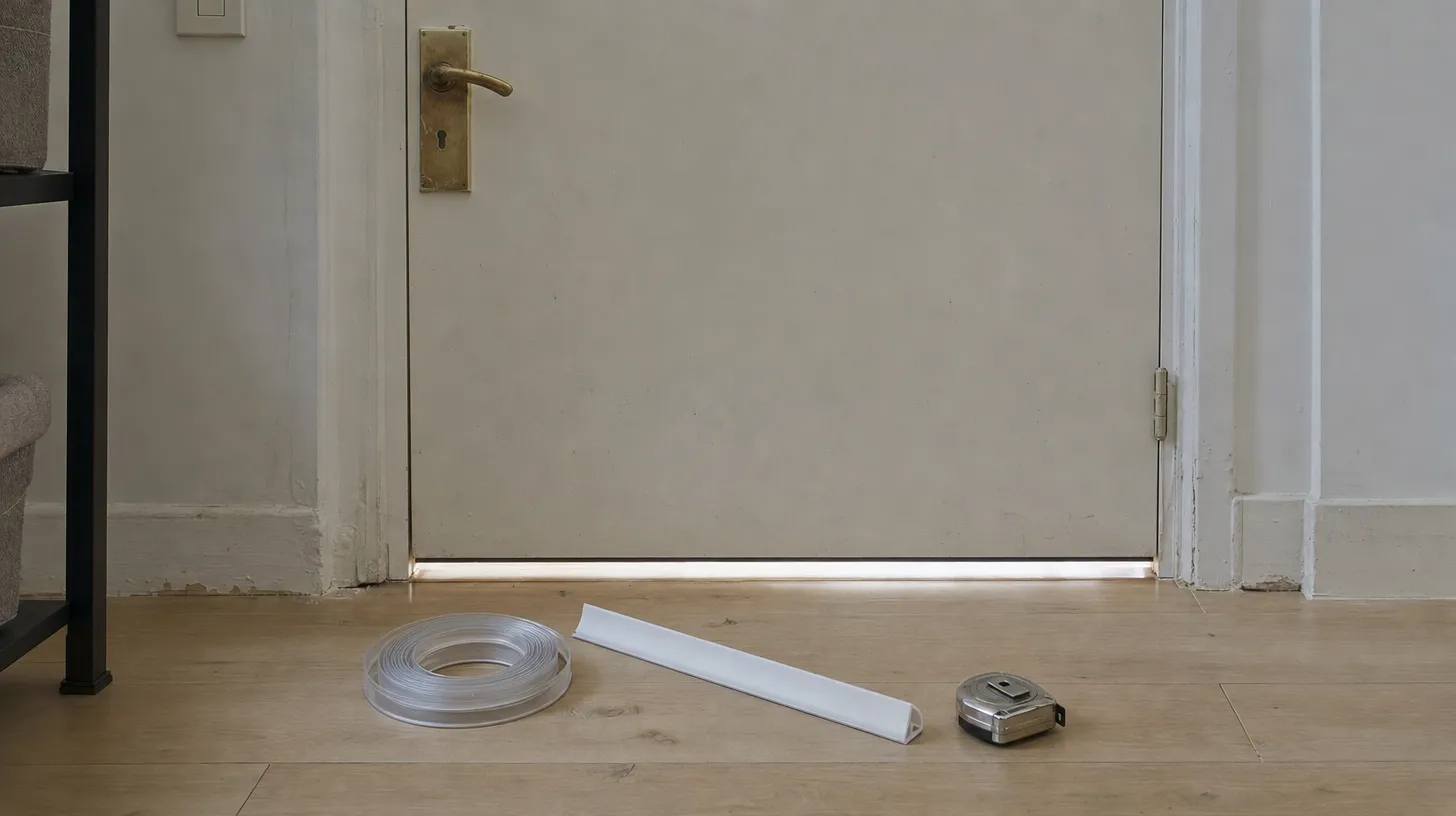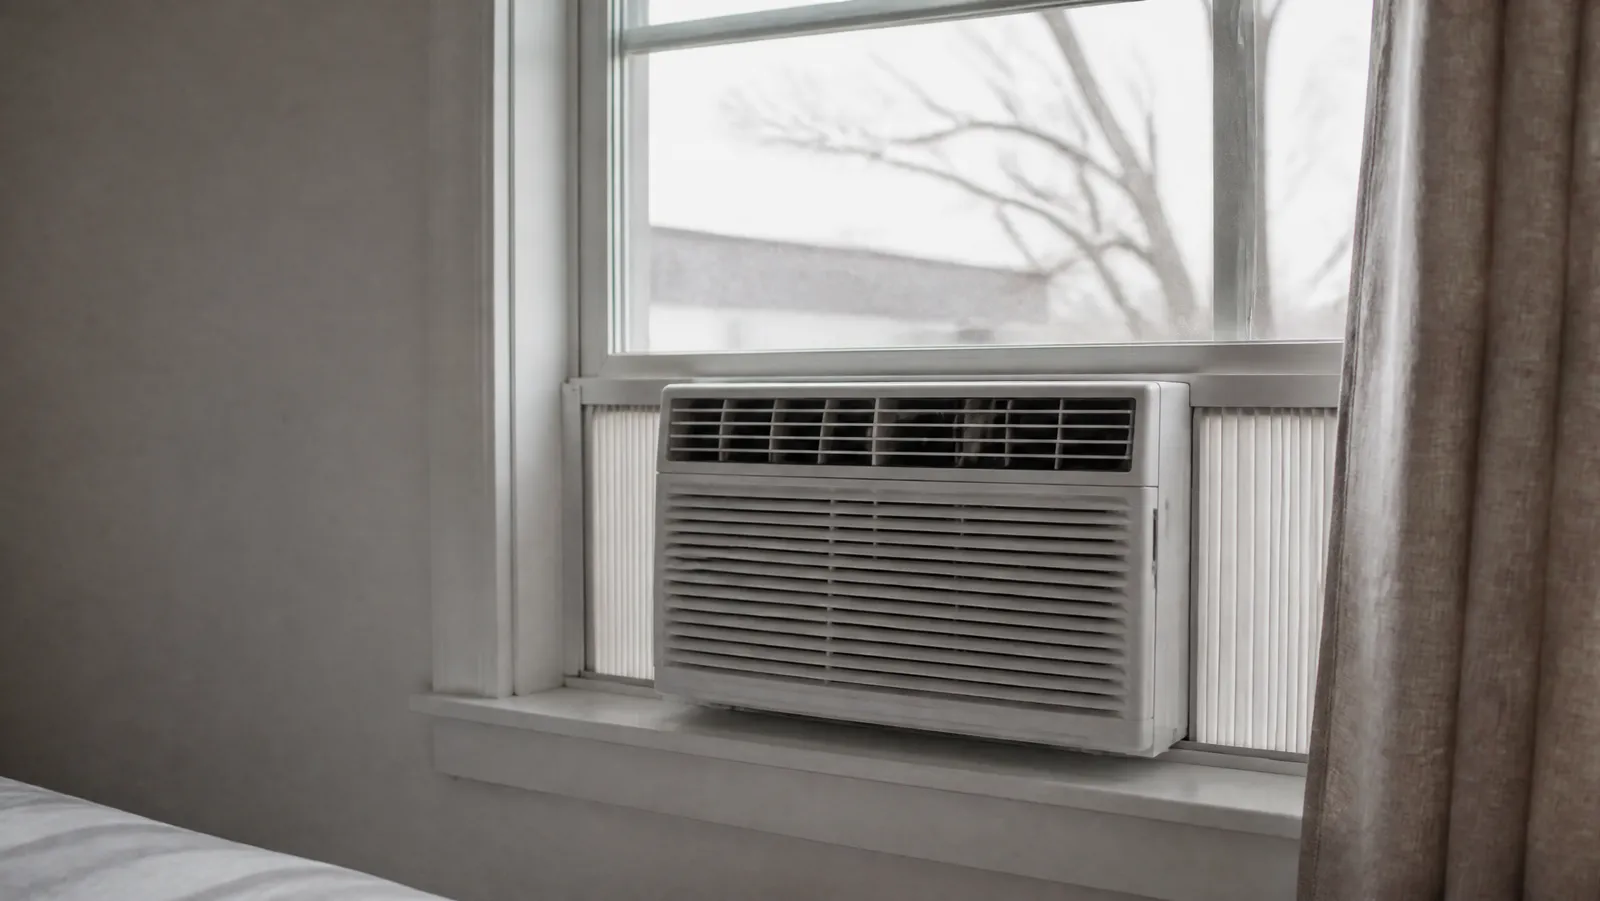
To soundproof around a window air conditioner, seal the gap, not the appliance. The street noise is coming through the accordion side panels, the gap above the chassis and the sash that no longer shuts, and you can close all three with dense foam for under $30. The compressor noise the unit makes itself is a different problem, and mostly not a sealing one.
Keep those two separated, because they get tangled together constantly:
- Noise arriving through the opening. Traffic, sirens, the bus stop, the guy on the phone at street level. It gets in through leak paths around the chassis. This is the problem foam panels fix, and it is what the rest of this article is about.
- Noise the machine makes. Compressor drone, fan rush, a buzz in the cabinet. Sealing does not touch it, and sealing an air-cooled appliance is genuinely a bad idea. We cover what little can be done further down, and the ceiling on it.
If you have not worked through the wider sequence yet, our guide to sealing and soundproofing apartment windows sets the order of operations for the whole opening. This page is the AC-shaped hole in it.
Why the gap around a window AC leaks so much noise
Sound and air take the same route. If outdoor air is getting into your room, outdoor noise is arriving with it, having lost nothing on the way.
There is a measured figure for how bad this particular hole is. According to a U.S. Department of Energy Building America case study on window air conditioner installation, research at the National Renewable Energy Laboratory found that window A/C installation "resulted in significant air leakage — equivalent to having a 5-in2 hole in the outside wall."
Five square inches of open wall does not sound like much until you see what small openings do to sound isolation. The acoustics team at SLR Consulting writes that "a small opening of less than 1% of the area in a partition reduces an STC 50 rated assembly by as much as 30 dB." STC, sound transmission class, is just a single number for how much noise a construction blocks. In their worked example, half-inch gaps amounting to 0.6% of a wall's area "degrade the sound isolation to STC 22."
The leak sets a ceiling that nothing you buy later can raise. That is why a $20 foam kit can do more for this window than a far more expensive upgrade.
The accordion side panels are the weakest part of the installation
Almost every window AC ships with two concertina plastic panels that pull out to fill the space beside the chassis. They are a weather convenience. They are not a barrier, and they have no meaningful mass.
The people who retrofit apartment buildings say so plainly. A tech primer on air sealing at room air conditioners published by the Building Energy Exchange and the NYC Retrofit Accelerator states that "typical accordion gates supplied by manufacturers do not provide a strong seal and are susceptible to damage and tears." Its recommended fix is "replacing the common plastic accordion panels (where most heat loss occurs) with rigid insulation boards, properly sealed in place, and installing weather-striping or closed cell spray foam."
The DOE case study gives the same instruction as step one of five: "Remove accordion panels," then "cut and install rigid foam panels to fill the spaces beside the A/C," three quarters to one and a half inches thick to fit most window frame channels.
The Building Energy Exchange primer also lists the payoff in the terms we care about: sealing these units "will not only improve efficiency and reduce drafts, but also help reduce noise infiltration." Swapping the accordion panels for dense foam is the single highest-value move available here, and it costs less than a takeout dinner.
Step 1: find the leaks before you buy anything
Fifteen minutes, no money, and it tells you which product to buy.
The flashlight test. After dark, room lights off, have someone outside trace the perimeter of the unit slowly with a bright flashlight. Anywhere light reaches you, sound reaches you.
The hand test. On a windy evening, run the back of your hand along the joint between chassis and sash, down both side panels and along the sill. Skin finds moving air better than eyes find gaps.
Then measure: the height and width of the opening on each side of the chassis, and the height of the horizontal gap above it. Write the numbers down before you shop, because panel kits come in fixed sizes and the difference between a 9-inch and a 12-inch panel is the difference between a fix and a return.
Step 2: replace the accordion panels with dense foam
This is the main event: pull out the concertina plastic and put mass in its place.
Our default recommendation is the BJADE'S one-piece full surround kit at about $28.19 as of September 2026, for one structural reason: it is a single piece that wraps the unit rather than two panels that leave a seam at the top and bottom. Seams leak. It is heat-resistant insulating foam behind a PVC leather-pattern face, it fits most 5,000 to 12,000 BTU units in frames up to 39 inches wide, and it cuts with ordinary scissors.
If your unit is small relative to a wide window, the gaps beside it will beat a standard panel. The Garpernics extra-wide panels at about $19.90 as of September 2026 measure 17 by 12 by 7/8 inches, three inches wider per side than the common 9-inch panel, in high-density EVA foam. Garpernics says the dense EVA also absorbs vibration and dampens operating noise. Treat that as the maker's claim rather than a measurement, but the foam is real mass where there was none.
For a standard fit, the LBG Products side panel kit at about $18.99 as of September 2026 is the plain version: two 17 by 9 by 7/8 inch panels and a pair of self-stick side channels, in black, which reads as shadow from the sidewalk. On the tightest budget, the HUAREW insulated foam panels at about $12.99 as of September 2026 get dense foam into the opening for under thirteen dollars. One honest note: the aluminum foil face is a thermal feature and does nothing for noise. Buy them for the foam.
Renter check on all of these: they mount with self-stick channels or tape onto the unit and the window channel, not into the frame. Nothing is drilled. Peel tape off painted wood slowly and warm it with a hairdryer first.
Step 3: seal the horizontal gap above the chassis
Side panels do not cover the gap that runs along the top of the unit where the raised lower sash meets it. In our experience it is one of the longest continuous leak paths in the whole opening, and it is the one people skip.
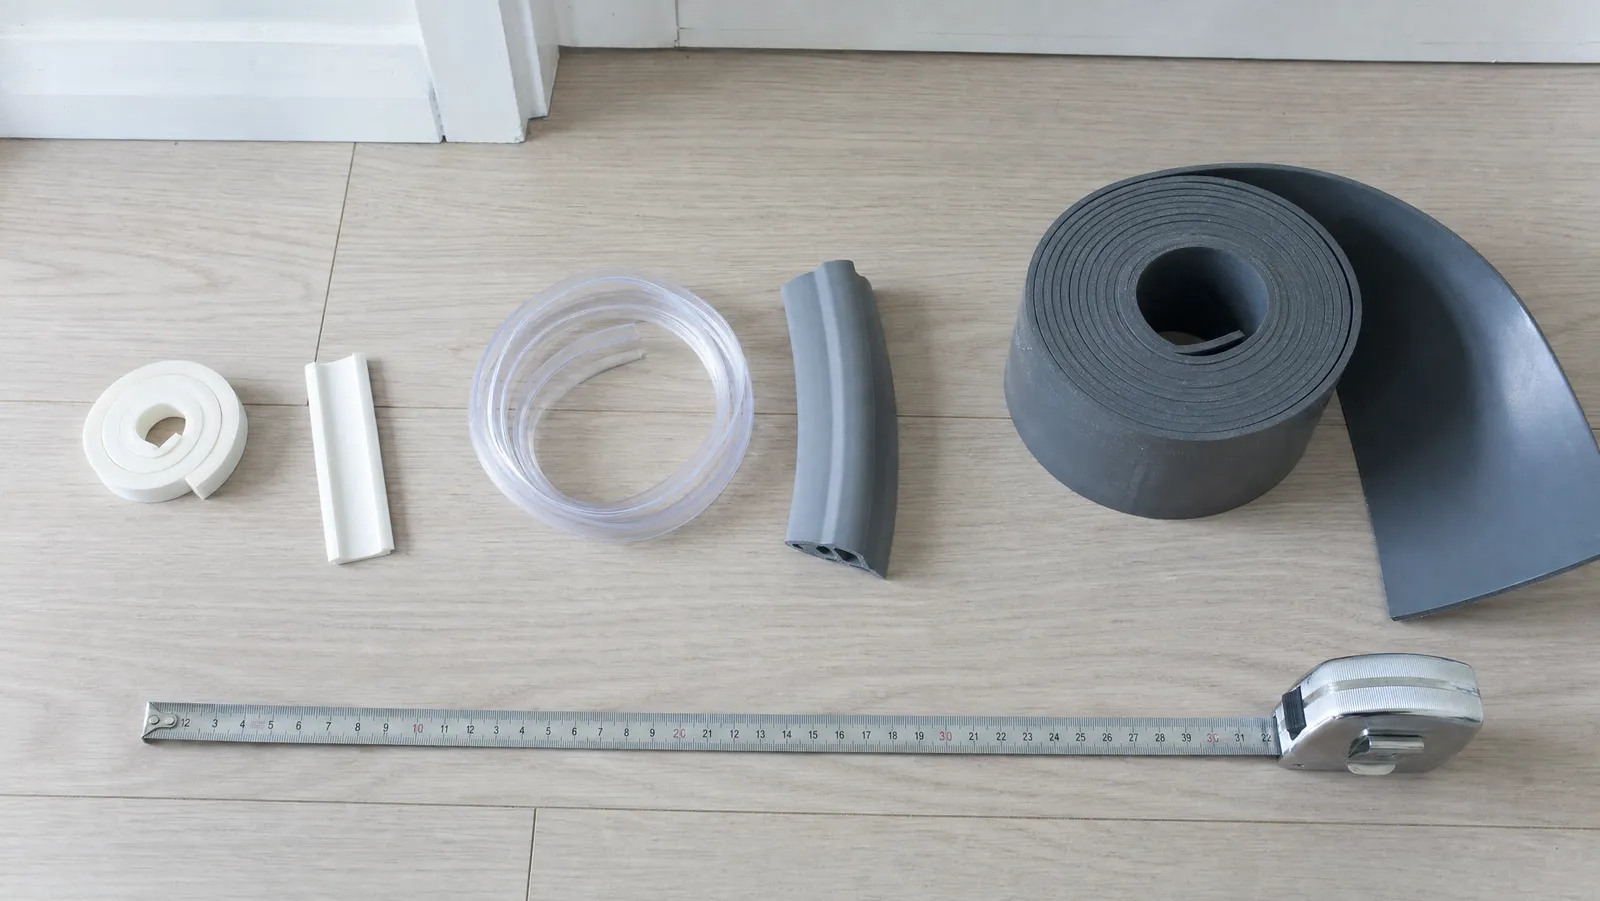
The Powrocket panel kit at about $19.94 as of September 2026 is the one on this list that ships with the answer in the box: two 17 by 9 by 7/8 inch panels plus a 3.2-foot roll of sealing foam strip specifically for the gap above or below the chassis. Both cut freely to size.
The DOE case study is blunt about the flimsy strips that come in the AC carton, noting that "foam strips provided by the manufacturer for sealing between sashes are prone to air leaks" and recommending closed-cell backer rod between the sashes instead. It adds a step that almost nobody does: "no matter what foam is used, it is important to also plug the top of the side channels." Look up into the channel at the top of the raised sash. That open square is a straight line to the street.
For the sash-to-frame joints around the AC, ordinary tape is the wrong tool and the right one is a compression seal matched to the gap. Our guide to weatherstripping to block street noise walks through which profile fits which gap, because using quarter-inch foam where a wedge belongs is the standard way to make things worse.
Step 4: seal the sash meeting rail and the rest of the opening
With an AC in place, the lower sash is raised, so the meeting rail where the two sashes overlap is sitting halfway up the window with nothing clamping it. Take a close look at that horizontal line. A rail that is no longer under any compression is often louder than the gap you just sealed.
A foam or V-profile strip along the upper sash's bottom rail restores that contact, as does a wedge or temporary sash lock that pulls the two sashes together, provided you can still open the window and are not blocking an egress route.
If the sash itself is loose in the frame, rattles when a truck passes, or has decades of paint holding it out of square, sealing around the AC will only take you so far. That is the wider job, and the same fixes that soundproof old apartment windows apply to the rest of this opening too.
What you can honestly do about the AC's own noise
A window AC makes noise because a compressor and a fan are running two feet from your head. You cannot seal that away, and you must not try. Never block the unit's vents, box in the compartment, or wrap a running unit. A window air conditioner user manual for the NCA series, hosted by The Home Depot, opens its install checklist with "check for anything that could block airflow," and lists a clogged air inlet or outlet as a cause of poor cooling. Restricting airflow makes an appliance run hot, run longer and sometimes fail.
What is actually available to you:
- Level it. The same manual instructs installers to "use the bubble level to make sure the unit is balanced when securing on the window sill," and notes that when installing "it is suggested to be inclined 1 to 2 degrees to the outdoor side to prevent rainwater from flowing into the room." A unit sitting crooked or resting unevenly buzzes against the sill, and that buzz is fixable.
- Tighten the chassis. Rattle is usually loose cabinet screws, a loose front grille or a filter that is not seated. Free to check.
- Pad the contact points. Where the design allows a shim or anti-vibration pad under the feet without changing the drainage tilt or the mounting, it can cut structure-borne buzz. Do not lift a unit off its support bracket to do it.
- Accept the floor. To calibrate expectations: ENERGY STAR's Most Efficient 2024 criteria for room air conditioners require a product to have "a sound pressure level at or below the sound level requirement of 45 dB(A) for the lowest operational mode available." That is the bar for a recognized quiet unit, on its quietest setting. Older and cheaper units, in our experience, tend to sit above it, though few publish a comparable figure.
If the machine noise is the actual complaint rather than the street, sealing is the wrong project, and replacing the unit or moving the bed is the right one.
The bedroom case, where this matters most
Bedrooms are where window ACs and street noise collide, because the window is open to the outdoors all night in the room where you least want it to be.
The World Health Organization's noise fact sheet recommends "less than 30 A-weighted decibels (dB(A)) in bedrooms during the night for a sleep of good quality," and less than 40 dB(A) as an annual average outside bedrooms to prevent adverse health effects from night noise. Set against an AC that is allowed to hit 45 dB(A) on its quietest setting and still count as low-noise, that is a demanding target, and it is why sealing the leak paths matters more in this room than anywhere else.
If the bedroom is your problem room, work through block traffic noise in a bedroom alongside this page. Sealing the AC opening is one item on that list, not the list.
The winter option: take the unit out
Here is the free answer, and for a lot of renters it is also the best one. The DOE case study's bottom line is unambiguous: "Remove unit from window or seal it up completely on the inside after cooling season is over; otherwise, air will leak through the unit itself." The vents, the drain path and the chassis seams stay open whether the unit is running or not.
The Building Energy Exchange primer goes further for multifamily buildings, recommending a winter removal policy because "in order to maintain a tight building seal, it is vital to remove window ACs during winter and for tenants to keep windows closed and locked."
Pull the unit out in October and you get a normal window back, one you can close, latch, weatherstrip and cover like any other. That is the largest acoustic improvement available on this page and it costs nothing. Get help with the lift, keep the mounting hardware in one bag, and store it upright.
If you cannot remove it, cover it from the inside
Plenty of renters cannot. The unit is heavy, it is four floors up, or the landlord installed it and does not want it touched.
In that case, seal it from the room side. The DOE's own phrasing is to "seal it up completely on the inside," which in practice means a rigid foam board cut to the full interior face of the unit, held with removable tape or a friction fit and edged with weatherstrip, so there is a continuous dense layer between the room and everything behind it. An insulated cover of the sort the Building Energy Exchange recommends for sleeve units does the same job.
Two conditions. The unit must be switched off and unplugged for the season before you cover it, because this is the one time sealing the appliance is acceptable, and the cover must come off before it runs again in spring.
The bottom line
Sealing around a window air conditioner is not an upgrade, it is repair work on a hole somebody left in your wall.
- Find the leaks with a flashlight after dark, then measure.
- Pull the accordion panels and fit dense foam in their place.
- Seal the horizontal gap above the chassis and plug the top of the side channels.
- Restore compression at the meeting rail.
- In October, take the unit out if you possibly can.
Steps one through four cost under $30 and take an evening. Step five is free and does more than all of them. None of them quiet the compressor, and any product page suggesting otherwise is selling a thermal panel with an acoustic adjective attached.
For where this sits in the wider sequence of fixes, and what to do once the opening is sealed, read our complete guide to window noise.
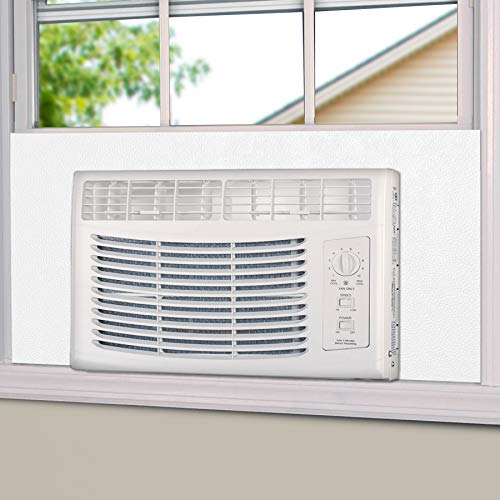
A one-piece full surround rather than two separate side panels, so it wraps the unit instead of leaving a seam at the top and the bottom. Heat-resistant insulating foam with a PVC leather-pattern outer face, sized for most 5,000 to 12,000 BTU units and window frames up to 39 inches wide.
The seam is the leak, and this is the only kit here that does not have one across the top of the chassis. It cuts with regular scissors and the double-sided nano tape is included, so a careful install is a twenty-minute job with no tools and nothing screwed to the frame.
*Price shown on Amazon and subject to change.

High-density EVA foam panels measuring 17 inches high by 12 inches wide by 7/8 inch thick, which is three inches wider per side than the common 9-inch panel. The package contains two panels plus one pair of self-stick side channels.
Buy this one when you measure the opening and find your unit is narrow relative to the window, which is the situation that defeats standard panels. Garpernics states that the dense EVA also absorbs vibration and dampens operating noise, which is the maker's claim rather than a measurement we have seen.
*Price shown on Amazon and subject to change.
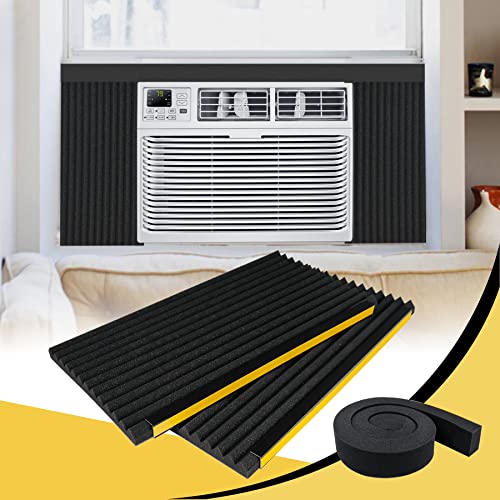
Two 17 by 9 by 7/8 inch foam panels with a self-adhesive channel, plus a 3.2-foot roll of sealing foam strip intended for the gap above or below the chassis that side panels do not cover. Fits most 5,000 to 22,000 BTU units.
The strip is the reason this kit is on the list. Side panels only address the sides, and the horizontal gap where the raised sash meets the top of the unit is usually the loudest leak in the installation. Both the panels and the strip cut freely to size.
*Price shown on Amazon and subject to change.
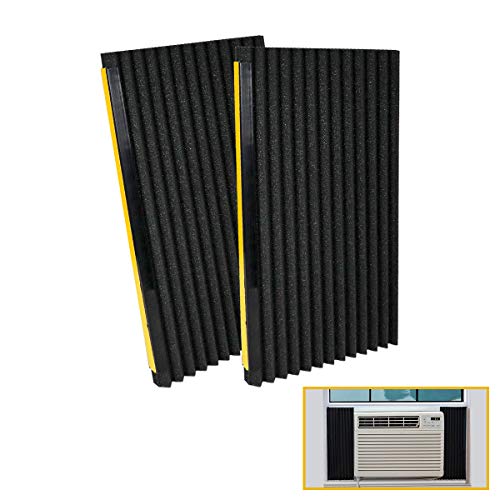
Two 17 by 9 by 7/8 inch foam panels plus one pair of self-stick side channels, designed to cover or replace the unit's original accordion side panels. Fits most 5,000 to 22,000 BTU units.
The plain, black, do-the-job version of this product category, at a dollar less than the others. LBG describes the foam as anti-vibration and noise absorbing, which is the maker's language, not a published figure. Black reads as a shadow from the street rather than a white slab in the window.
*Price shown on Amazon and subject to change.

A foam panel with an aluminum foil face that the maker says reflects heat, cut to size for the gap you actually have. Suits window AC units from 5,000 to 22,000 BTU.
The cheapest way to get dense foam into the opening instead of concertina plastic. To be straight about it, the foil facing is a thermal feature and does nothing for sound, so buy this for the foam and treat the shiny side as a summer bonus.
*Price shown on Amazon and subject to change.
| Pick | Product | Link | |
|---|---|---|---|
| Our Pick | BJADE'S — BJADE'S One-Piece Full Surround Window AC Insulation Panel Kit | $28.19 | Check → |
| Best for Wide Gaps | Garpernics — Garpernics Extra Wide Window AC Foam Insulation Panels (17 x 12 x 7/8 in, 2 pack) | $19.90 | Check → |
| Best Kit With Seal Tape | Powrocket — Powrocket Window AC Foam Insulated Panel Kit with Sealing Foam Strip (17 x 9 x 7/8 in) | $19.94 | Check → |
| Best Basic Side Panels | LBG Products — LBG Products Window AC Side Insulating Panel Kit, Black (17 x 9 x 7/8 in, 2 pack) | $18.99 | Check → |
| Best Budget | HUAREW — HUAREW Window Air Conditioner Insulated Foam Panels | $12.99 | Check → |

Lillie Metayer
Lillie Metayer is the founder of a local program that helps apartment-dwellers take action against noise pollution. Involved in environmental activism since high school, Lillie is passionate about raising awareness of the harms of noise exposure and helping people reduce noise in their communities. In her free time, Lillie enjoys playing the violin and spending time outdoors.