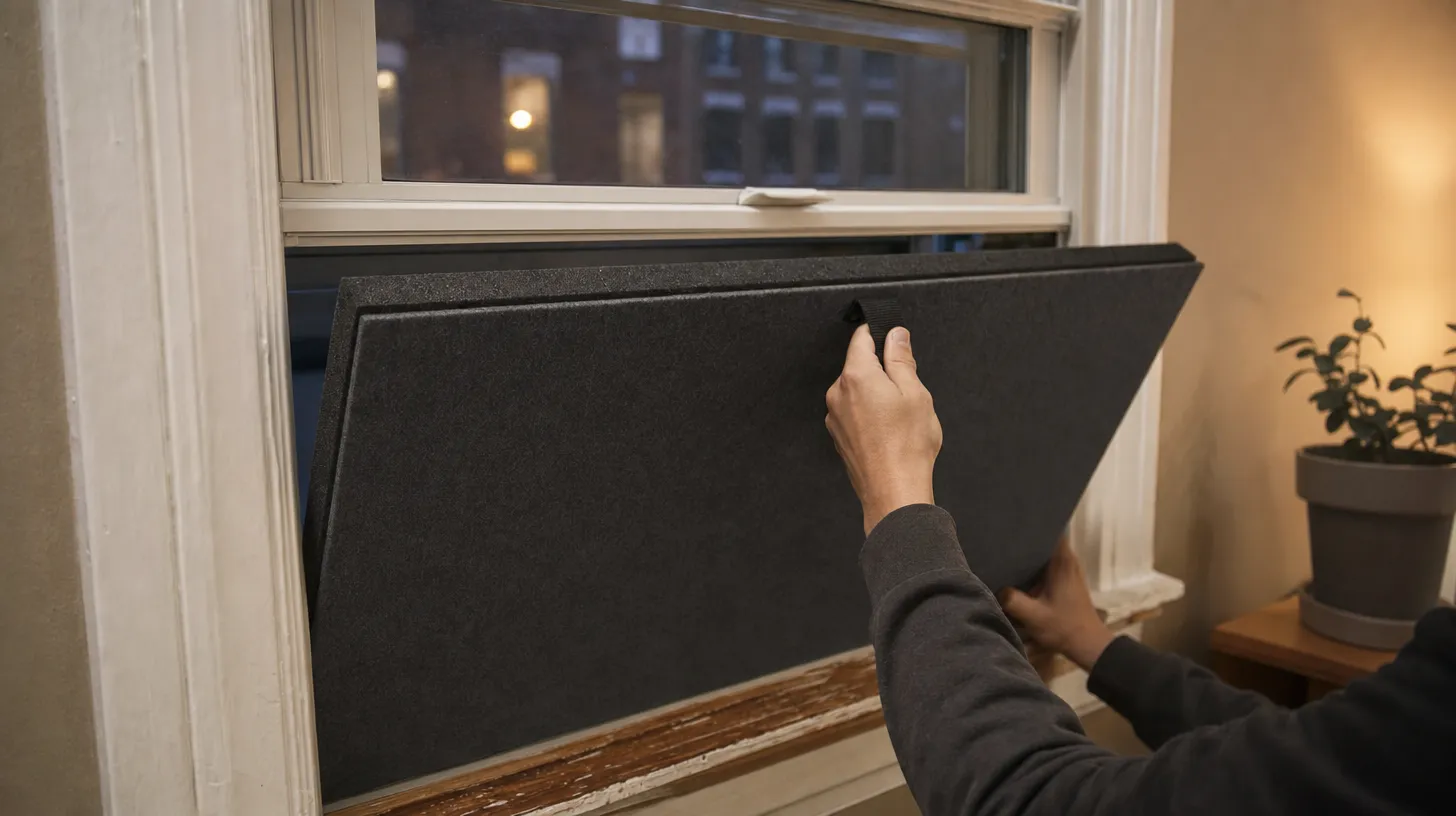
Here is how to make a soundproof window plug in one paragraph. Cut a rigid, heavy panel a quarter of an inch smaller than your window reveal on every side. Bond mass to the back of it. Wrap the whole edge in foam weatherstrip thicker than the gap you left. Press it in until the foam compresses against all four sides. One afternoon, no drilling, nothing left behind on move-out.
Now the part nobody puts in the headline. A window plug looks like a board in your window. It blocks every scrap of daylight and seals the window shut, and that is not a flaw to design around — it is the mechanism. So treat it as a night-only tool: in at bedtime, out with the curtains in the morning, behind a door all day. Framed that way it is the most effective thing a renter can build for a window. Framed as an invisible upgrade it gets built once and lives in a cupboard forever. For the full ranking of window options first, start with the full window soundproofing guide.
What a window plug actually does
Two mechanisms, both boring physics.
The first is mass. ASA Standards defines mass-law sound transmission loss as the phenomenon whereby "doubling the mass per unit area of a panel, or doubling the frequency for a given mass per unit area, increases the sound transmission loss by six decibels." Six decibels per doubling of weight is not a generous exchange rate. It is why a heavy panel beats a light one, and why fabric never wins this fight.
The second is a sealed perimeter. Sound is moving air, and a gap is an open door that no amount of mass closes. A DIY soundproof window plug is simply those two ideas in one removable panel.
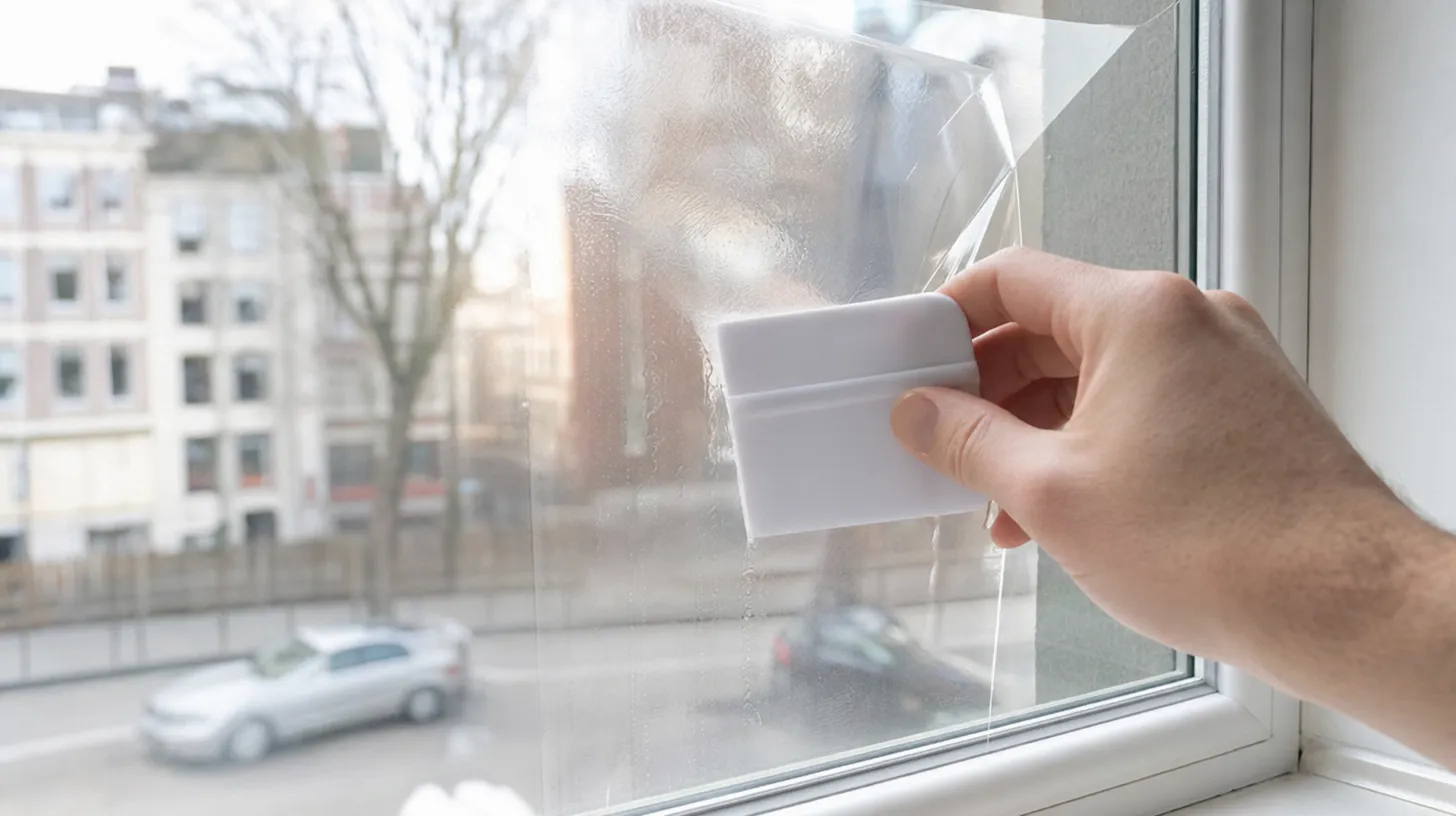
Together they are why a plug outperforms what renters try first. Heavy curtains soften echo inside the room but hang loose and leak at every edge. Film is thinner again: Concord Window Film reports that "studies by window film manufacturers show that adding a layer of window film to existing glass can decrease the outside noise coming in through the glass by about 5 decibels," and notes that figure comes from the manufacturers rather than an independent lab. We work through those claims in soundproof window film. A plug is a different category of object: pounds of material plus a gasket.
Should you build one at all?
Three questions settle it, and for some renters the answer is no.
Does that room need daylight? A plug is opaque. If the window lights a desk you sit at all day, you will not use it. If a bus route wakes you at 5 am, opacity is a feature.
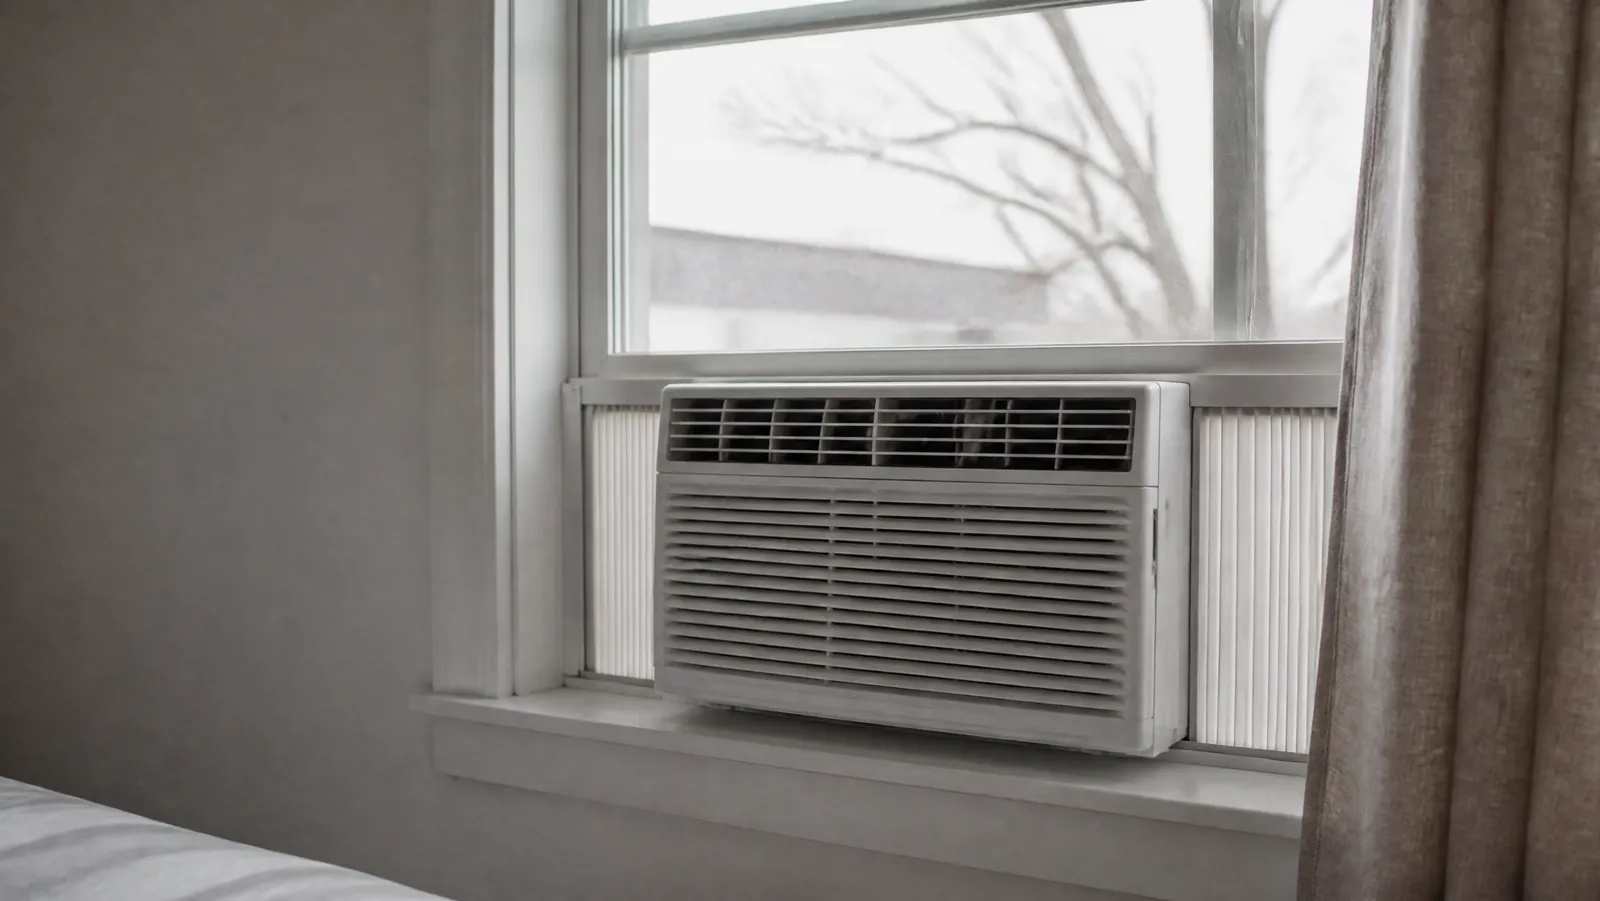
Does that window ventilate the room? A sealed window no longer breathes. In a bedroom with poor airflow, that is a moisture problem waiting to happen.
Is it the escape route? Not negotiable. Under the International Residential Code, section R310 requires emergency escape and rescue openings with a minimum net clear opening of 5.7 square feet (5 square feet for grade-floor openings), a minimum net clear height of 24 inches, a minimum net clear width of 20 inches, and the bottom of that clear opening no more than 44 inches above the floor. It also requires them to "be operational from the inside of the room without the use of keys, tools or special knowledge." A friction-fit board pulled out with two hands is not that. If the window is a sleeping room's escape opening, do not plug it.
Nothing in this build touches the landlord's window: no screws in the frame, no adhesive on the trim, no drilling. If you want the same idea in a form you can see through, a made-to-measure acrylic panel does it for a few hundred dollars per opening. We compare the two in do soundproof window inserts work. Renters shopping the best soundproof window inserts are making the identical tradeoff with money instead of daylight.
How to make a soundproof window plug: measuring the reveal
The reveal is the recess between the inside face of your window trim and the glass. That box is what the plug fills.
Measure the width in three places — top, middle, bottom — and the height in three places: left, centre, right. Use the smallest of each. Apartment openings are almost never square, and a panel cut to the widest measurement will not go in at all.
Then measure the depth, from the most protruding thing on the window (a sash lock, a handle, a crank) to the inside edge of the trim. That is your air-gap budget.
Now undersize deliberately. Take a quarter of an inch off each side: half an inch off the smallest width, half an inch off the smallest height. That leaves a quarter-inch channel all round for foam. It sounds like too much. It is not. The foam needs somewhere to go when it compresses, and a panel cut to an exact fit either refuses to enter or enters with no seal. Write the final numbers down and have the store cut the sheet — their panel saw is squarer than your circular saw.
Choosing the panel: rigid and heavy beats thick and soft
Pick the heaviest rigid panel you can still lift with one hand at six in the morning, because that is when you take it out.
- MDF, half or three-quarter inch. Heaviest per dollar and the easiest to cut cleanly. WoodworkingAdvisor puts a 4 by 8 sheet of three-quarter-inch MDF at "between 90 and 120 pounds," against "around 60-75 pounds" for a pine plywood sheet the same size. That gap is the reason to choose it. The drawback is water: MDF swells and crumbles when damp, which matters on a cold pane.
- Plywood, half or three-quarter inch. Lighter, stiffer, far more tolerant of damp. Costs more and the cut edges splinter. If your window sweats in winter, take the weight penalty.
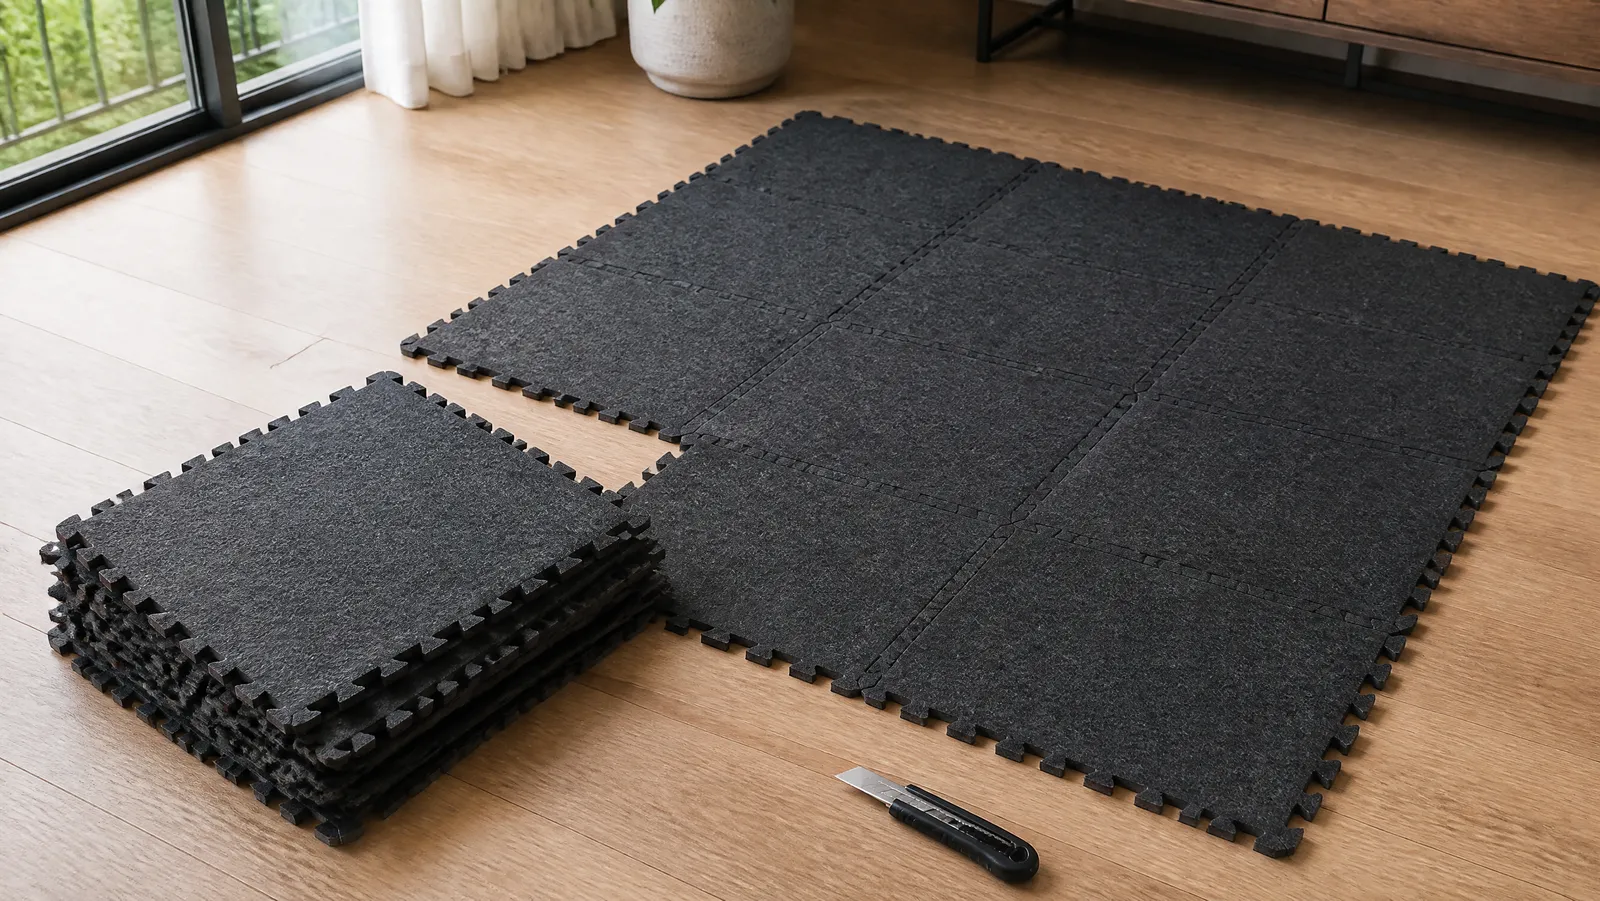
- Rigid foam board on its own. No. Thick and soft is the opposite of what the mass law rewards, and two inches of something light loses to half an inch of something dense. Use it as a spacer behind a heavy skin, never as the barrier.
Adding mass to the back
The cheapest upgrade left is more weight per square foot, added to the face that points at the glass.
Mass loaded vinyl is the purpose-built option. Trademark Soundproofing lists its 1 lb product as one-eighth of an inch thick, weighing "one pound per square foot," with "an STC of 26." That STC describes the vinyl alone in a lab, not your finished plug, so read it as a statement about density rather than a prediction. A pound per square foot eats almost none of your air gap.
A doubled moving blanket is the budget version. Cheaper, adds some weight, and the fibre kills reflections inside the cavity. It is nowhere near a pound per square foot, so do not expect parity — it is for finding out whether a plug helps before you spend more.
Fasten either one so it cannot rattle: construction adhesive, or staples every few inches into your own panel. A loose flap of vinyl slapping MDF at 3 am is its own noise problem.
The perimeter seal is the whole project
An unsealed plug is a decoration. Read this section twice.
Second Skin Audio publishes a table of effective transmission loss against open area, and it is bleak: "just a 5% opening will change a wall from stopping 40 dB to only stopping 13 dB." The same table lists 2 percent open at 17 dB, 1 percent open at 20 dB, and 0.1 percent open at 30 dB. Custom Audio Designs makes the point from the other end: "A wall with a potential Rw of 55 or 60, which has a hole of only 0.001% of the total wall area, is reduced to an effective Rw of 50."
Read those with your plug in mind. A quarter-inch gap down one side of a bedroom window works out at roughly 1 percent of the panel area on a typical 24-to-36-inch-wide panel, and by that table your beautifully heavy MDF is capped around 20 dB however much it weighs.
The laboratories know it. Riverbank Acoustical Laboratories, describing STC testing carried out to ASTM E90 and rated under ASTM E413, notes that in the chamber "the perimeter is typically sealed with laboratory mastic to reduce sound flanking around the sample." If an accredited lab caulks the edges before it will measure a panel, your plug gets weatherstrip.
- Use closed-cell adhesive foam weatherstrip, not open-cell foam and not felt. Open-cell foam breathes, which is the one thing you do not want.
- Choose foam thicker than the gap you left. A quarter-inch channel wants three-eighths-inch foam so it is genuinely squashed when the plug is home.
- Run one continuous strip per edge and butt the corners tight. Corners are where nearly every DIY plug leaks.
- Test with light. In daytime, fit the plug, turn the room lights off and study the edges. Every thread of daylight is a sound path. Light and sound leak through the same holes.
We cover which tapes hold up and which turn to glue in weatherstripping to block street noise.
Keep the air gap
Do not press the plug against the glass. The cavity between the two does real acoustic work.
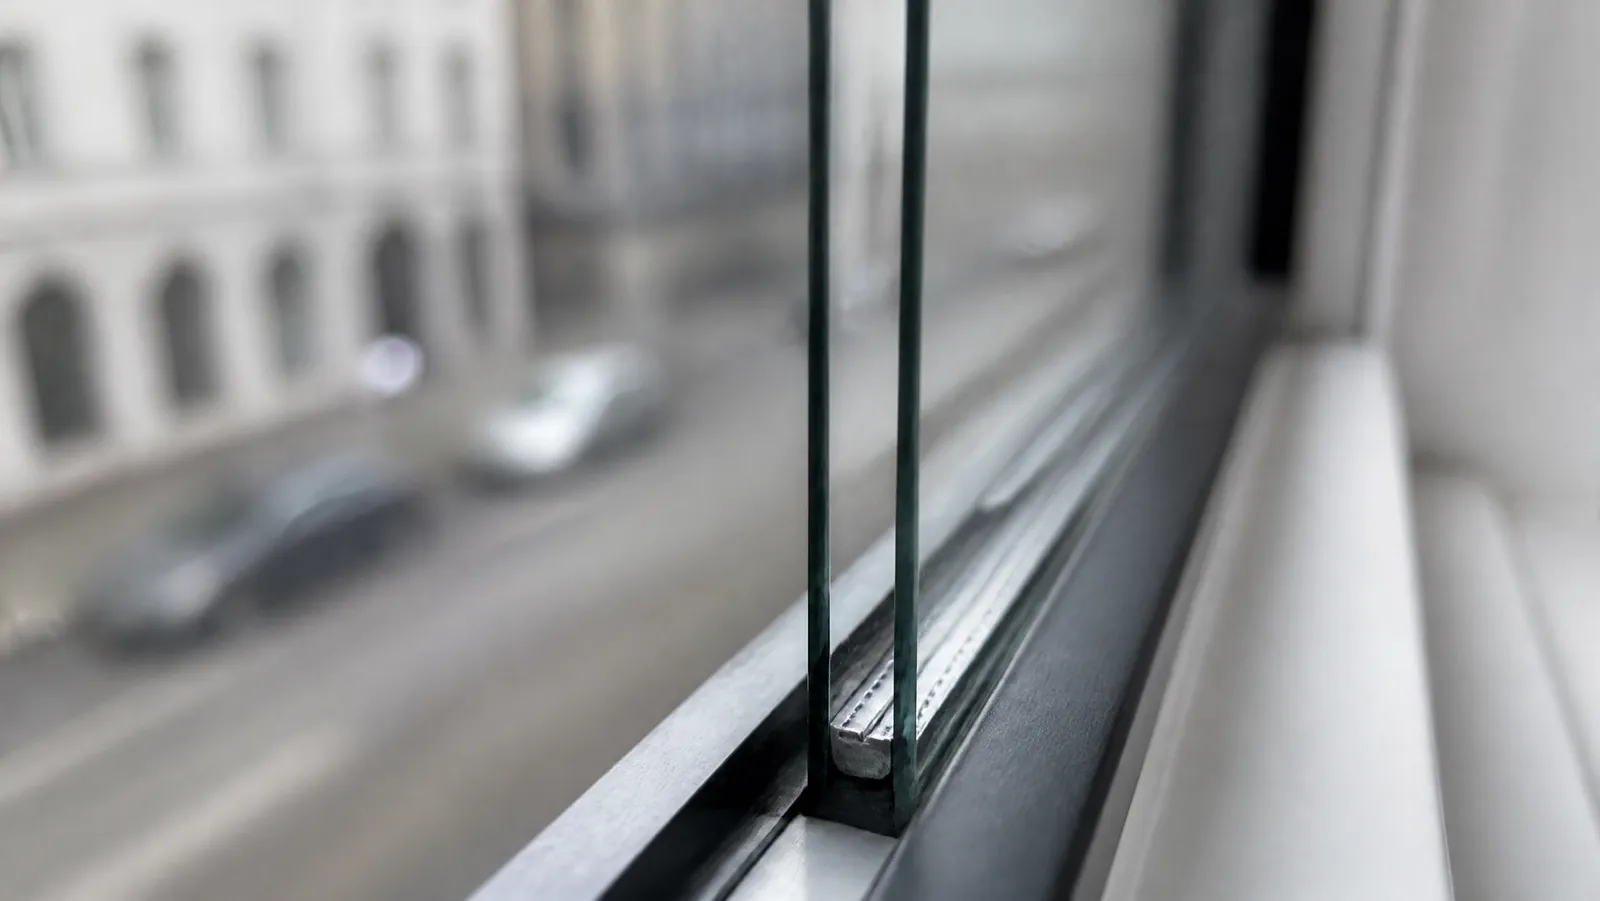
Wider is better, within reason. GlassOnWeb, writing on the acoustic behaviour of glazing, states that "the ideal cavity width to boost sound attenuation is 200 mm" — roughly eight inches — and that "for widths less than (or greater than) 200 mm the effect is less noticeable." The same article explains why sealed units disappoint on traffic noise: a 6-12-6 mm double glazed unit beats a single 6 mm pane "only by 2 or 3 dB," because 12 mm of cavity is barely a cavity.
You will not get 200 mm in an apartment reveal, so take what the opening gives you. Set the plug flush with the inner face of the trim rather than shoving it at the glass, and if the reveal is shallow, glue strips of scrap timber around the back edge so the panel stands off. That standoff also keeps the plug off a cold pane, which matters below.
Handles, pulls and where it lives all day
- Two pulls, not one, on anything wider than about 30 inches. A single central handle makes the plug tilt and bind.
- Drawer pulls, flush cabinet pulls or a stapled webbing loop all work, fitted near the top edge so you peel the plug out rather than yanking it at yourself. Every screw goes into your panel, never the frame.
- Mark the top edge in pencil. Out-of-square openings fit one way round only, and finding that out at midnight is annoying.
- Give it a parking space — behind the bedroom door, under the bed, inside the wardrobe. A plug with nowhere to go stops being used within a week. Cover the room-facing side in your curtain fabric and it disappears behind the drapes at night.
Where a removable window plug for noise goes wrong
- The perimeter is not sealed. See the numbers above. This is why most homemade plugs underperform.
- The panel is too light. Foam board, thin hardboard, a canvas stretcher with a blanket over it. The mass law does not negotiate.
- It falls out. The panel was cut too small, the foam is too thin to compress, or the plug slides under its own weight. A card shim taped to the bottom edge usually fixes it.
- Condensation and mould on a cold pane. The failure that costs a deposit. Sealing a warm room away from cold glass collects moisture with no air moving over it. The EPA advises keeping indoor humidity "below 60 percent (ideally between 30 and 50 percent) relative humidity," says that if "you see condensation or moisture collecting on windows, walls or pipes act quickly to dry the wet surface," and notes that "if wet or damp materials or areas are dried 24-48 hours after a leak or spill happens, in most cases mold will not grow." So: pull the plug out every morning, wipe the pane if it is wet, and never leave it in for days in winter. Older buildings with single glazing are the strongest candidates for a plug and the most prone to sweating, which is why soundproofing old apartment windows is a compromise in both directions.
- You plugged a window you needed for ventilation or, worse, egress. See the second section.
What to realistically expect
We went looking for a laboratory or peer-reviewed measurement of a homemade window plug and did not find one. That is worth saying plainly, because plenty of sites will quote you a number anyway. Sound Pro Solutions lists "10 to 15 dB" for a window plug alongside "3 to 7 dB" for weatherstripping and "2 to 5 dB" for foam tape, but publishes no test method, laboratory or source for any of them. Treat figures like that as folklore until somebody shows their working.
What we can anchor is how a change would feel. Penn State's NoiseQuest states that "a person perceives a change in sound level of about 10 dB as a doubling (or halving) of the sound's loudness," and that "the minimum change in the sound level of individual events that an average human ear can detect is about 3 dB." The bar for a build that was worth doing is low in decibel terms, and the ceiling is a room that sounds half as loud rather than silent.
A plug will not delete the bass thump of a bus pulling away; low frequencies are the hardest part of the spectrum for any lightweight assembly. It does nothing about noise arriving through the wall, floor or ceiling. And it only performs on the nights you fit it. Before you buy a sheet of anything, our roundup of free soundproofing calculators is a good place to test your assumptions about mass and gaps.
Build one, for the room you sleep in
Do not plug the whole apartment. Plug the one window costing you sleep, and accept that it goes in at night and comes out in the morning.
The build, condensed: measure the reveal in three places and take the smallest, cut a heavy rigid panel a quarter of an inch under on every side, bond mass to the back, run thick closed-cell foam continuously around all four edges, keep an air gap behind it, fit two pulls. Then check the edges for daylight, because daylight is a sound leak you can see.
If it works you will know inside one night. If it does not, the perimeter is almost always why. And if a plug is the wrong answer for your window entirely, our renter's guide to window noise walks through the alternatives in order of payoff per dollar.

Lillie Metayer
Lillie Metayer is the founder of a local program that helps apartment-dwellers take action against noise pollution. Involved in environmental activism since high school, Lillie is passionate about raising awareness of the harms of noise exposure and helping people reduce noise in their communities. In her free time, Lillie enjoys playing the violin and spending time outdoors.